
Geo Marker
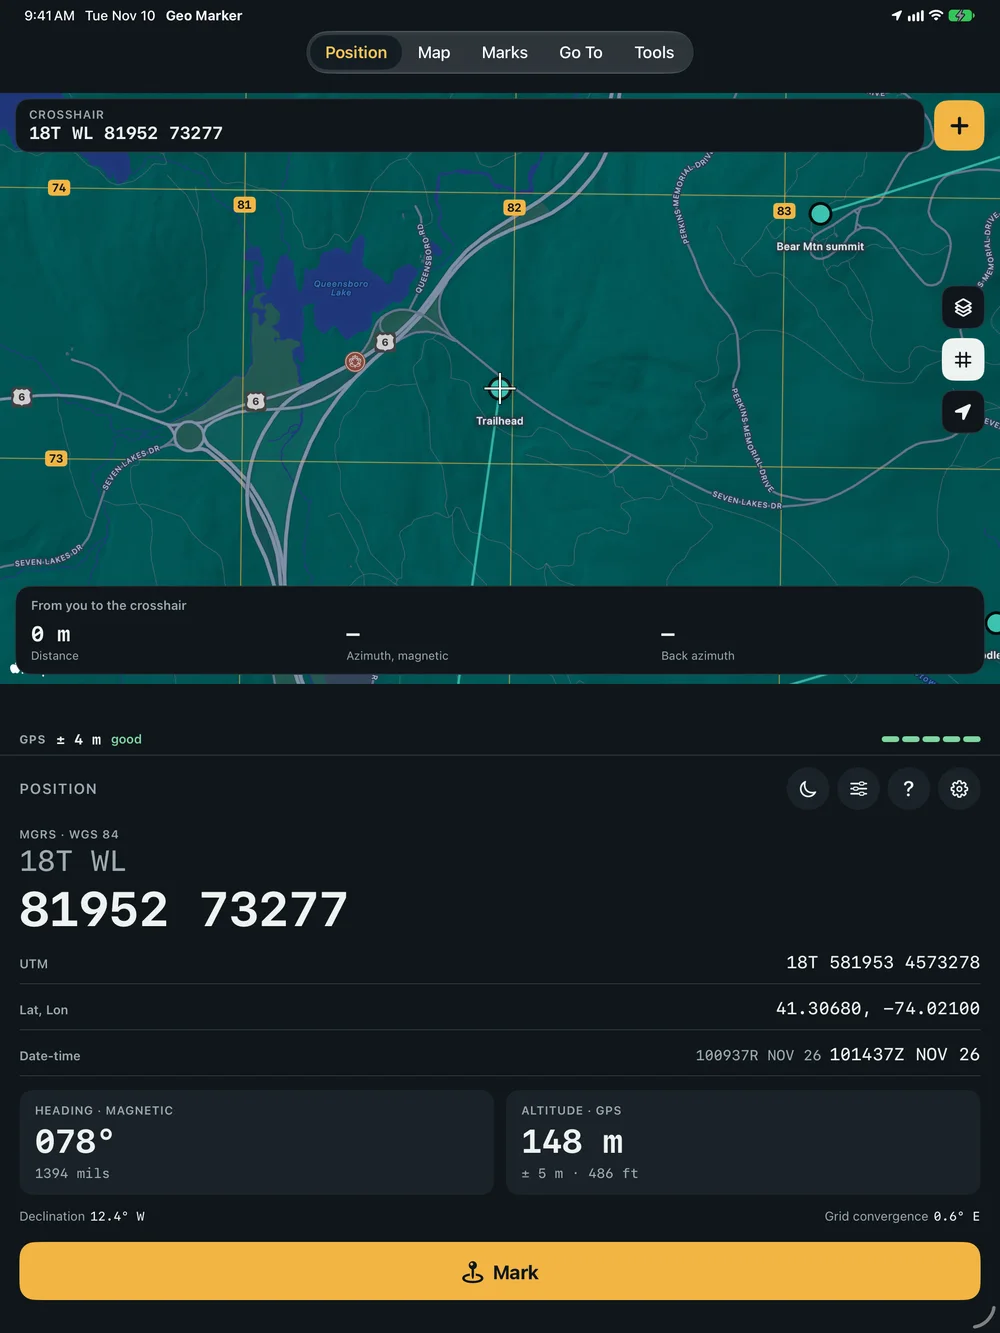
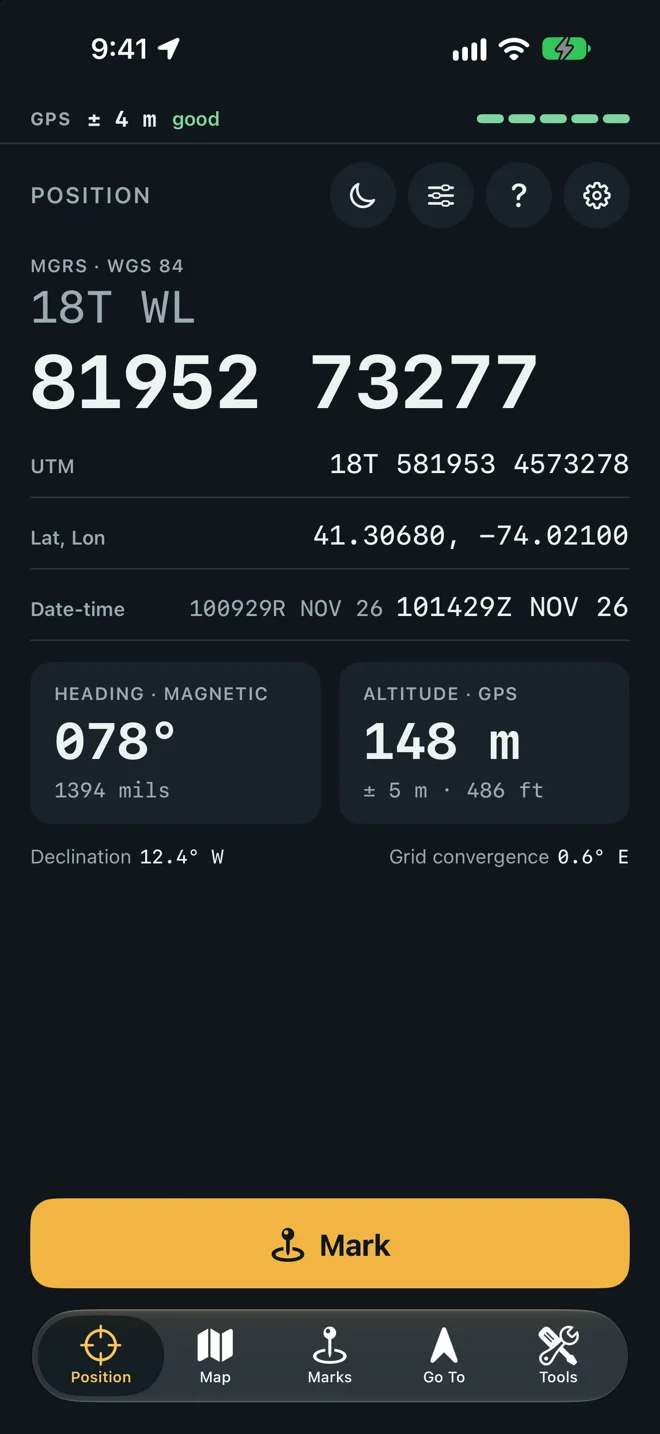
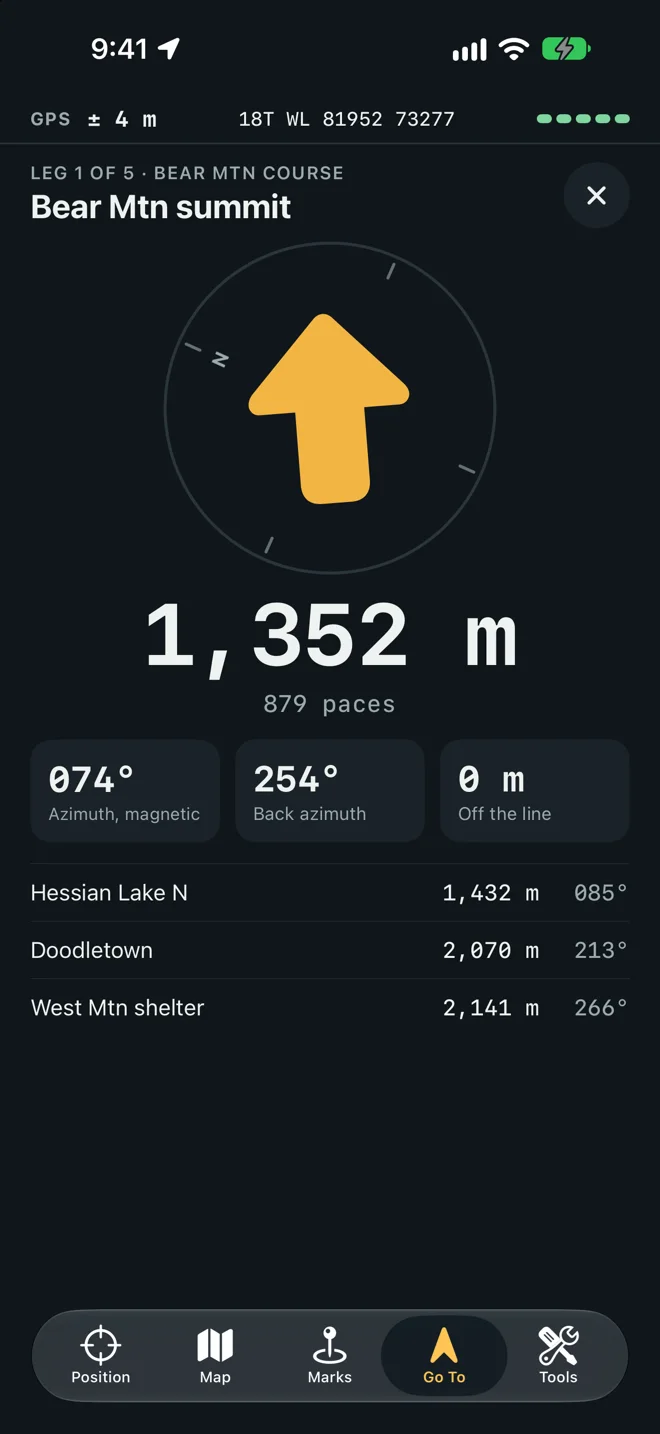
Geo Marker does the work of a gridded map, a protractor and a compass. Position shows where you stand as an MGRS grid in large type. Map draws the grid over the map, with a crosshair that reads the grid under it. Marks keeps the points you want to reach: typed as a grid, taken where you stand, or worked out from a distance and an azimuth. Go To points an arrow at a mark and gives the distance, the azimuth, the back azimuth and your paces left. Tools holds resection, intersection, the three norths and a pace count walk.
Your grid, your marks, Go To and the tools work with no signal, from GPS alone. Only the map’s picture and the optional ground height lookup need a connection. It runs on iPhone and iPad, in English, German, French, Spanish and Japanese, and has no account.
Your first leg in a minute
Section titled “Your first leg in a minute”-
Read the guide. The first time you open Geo Marker, five cards explain the loop. Tap Next through them, then Start, or tap Skip. You can open them again with the ? button on Position.
-
Allow location. iOS asks to use your location. Choose Allow While Using App and keep Precise on.
-
Know where you are. Stand outside on Position until the bar at the top reads good. The large number is your grid.
-
Make a mark. Open Map and drag the map until the crosshair sits on the place you want. The card at the bottom tells you how far it is and on which azimuth. Tap + and then Save. If you were given a grid instead, open Marks, tap + and type the digits: easting first, then northing.
-
Walk to it. On Marks, tap the mark. Go To opens with the arrow, the distance, the azimuth and its back azimuth, your paces left, and how far you have drifted off the straight line. Inside the mark’s circle the screen reads You’re there.
What it asks for
Section titled “What it asks for”| Permission | When | Why |
|---|---|---|
| Location, while using the app | When Position first opens | Your grid, and the distance and direction to your marks. Geo Marker never asks for Always and does not run in the background. With Precise Location off, the bar reads approximate and the grid is kilometers off. |
Nothing else. See Privacy.
What would you like to do?
Section titled “What would you like to do?”On iPad and an open iPhone Duo
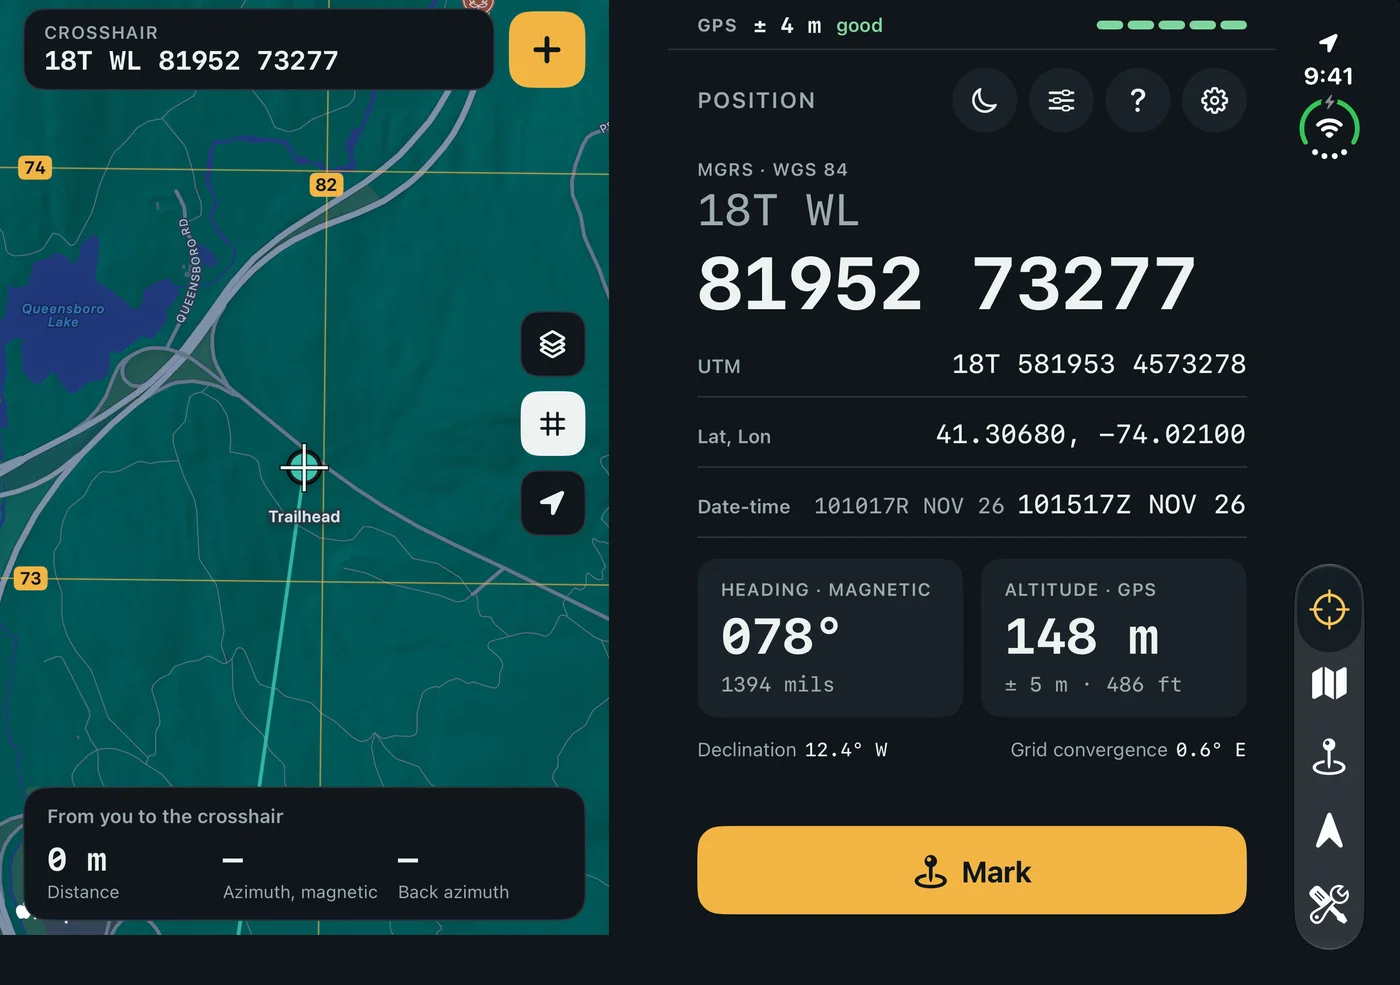
Section titled “On iPad and an open iPhone Duo”Where there is room for two pages, each tab shows its screen with the map beside it, and the Map tab shows the map with Position beside it. A wide window puts the pages side by side. A tall one puts the map on the upper half and the other screen below. On an open iPhone Duo the pages split at the fold. The GPS bar runs once across the top, and the second page leaves the ? and Settings buttons to the first.