

The plate
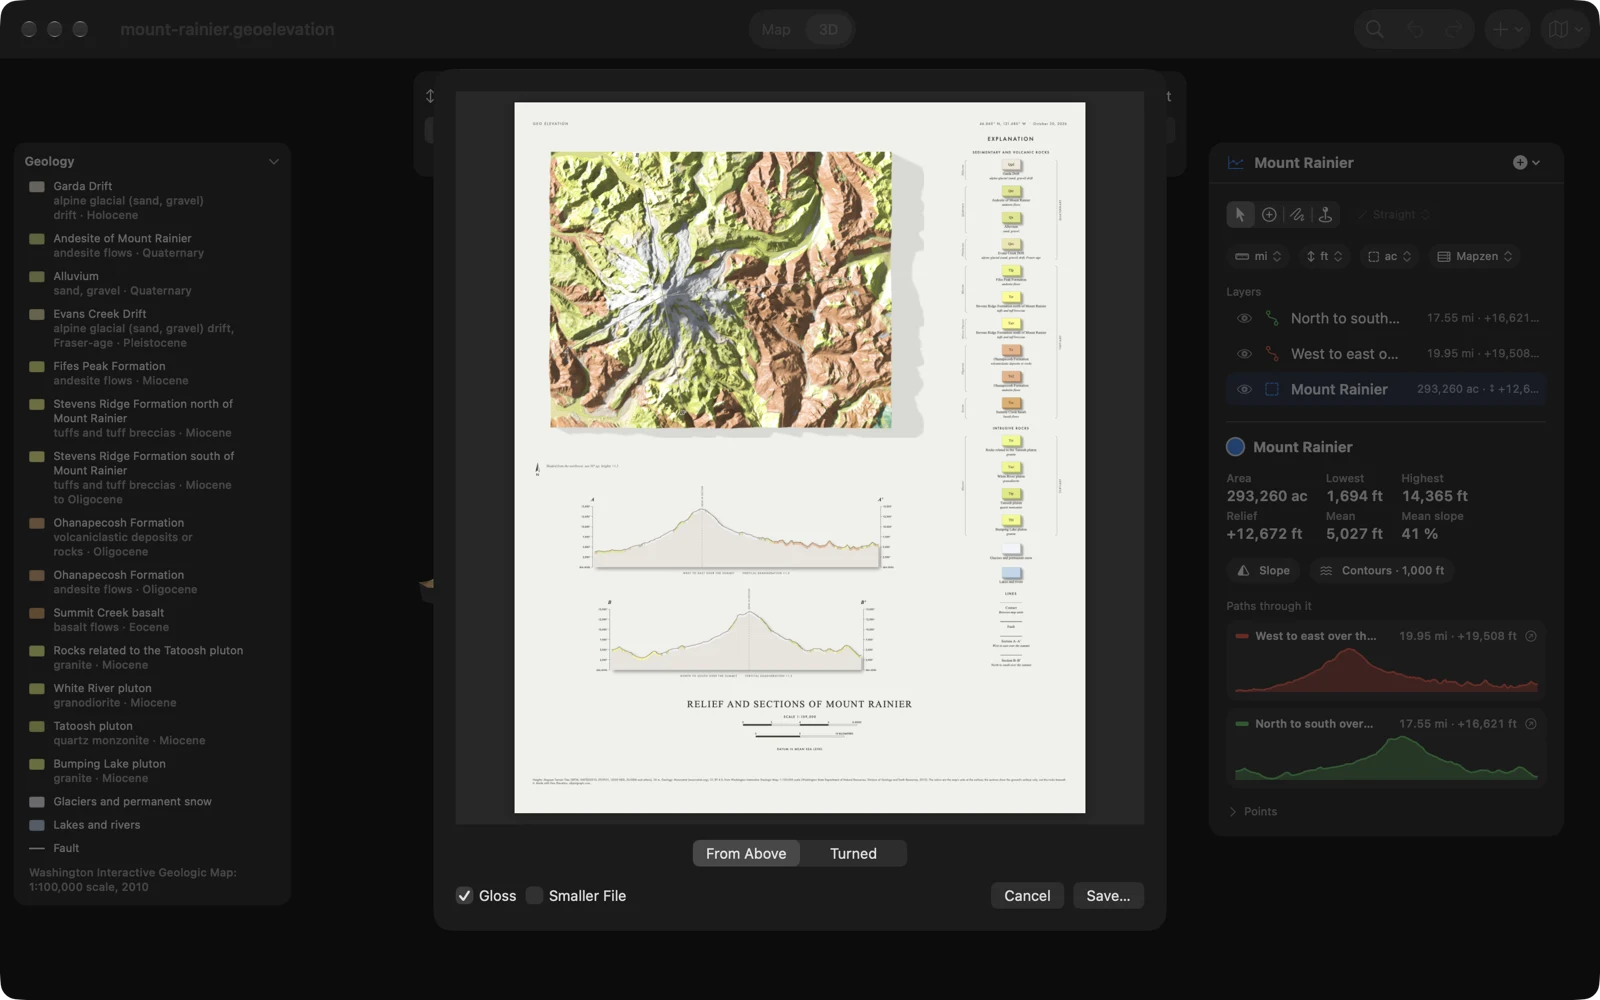
Plate (PDF)… lays the block out on one large page the way a printed geologic plate is: the relief standing off the paper with its shadow, an explanation beside it, each path below as a section through the ground, then the title, the scale and the credits. You set it up in a preview and then save it.
Make a plate
Section titled “Make a plate”-
Set the look in the 3D view. The plate takes the height, the ground, Relief and the sun, Gloss, and the area’s Slope and Contours as the 3D view shows them.
-
Choose Export ▸ Plate (PDF)…, from the Export button in the 3D view, File ▸ Export on the Mac, or More ▸ Export on iPhone, iPad and Apple Vision Pro. From the map, the 3D view opens first.
-
Set the view in the preview. The page is made again from the 3D view’s own ground in about a second whenever you change something: From Above or Turned, Gloss, and Smaller File.
-
Choose Save…. The plate is made at full size while the preview stays up and says “Making the plate…”; this takes some twenty seconds. Then the save panel opens with the name “document Plate.pdf”. Cancel (Esc on the Mac) stops it.
From Above or Turned
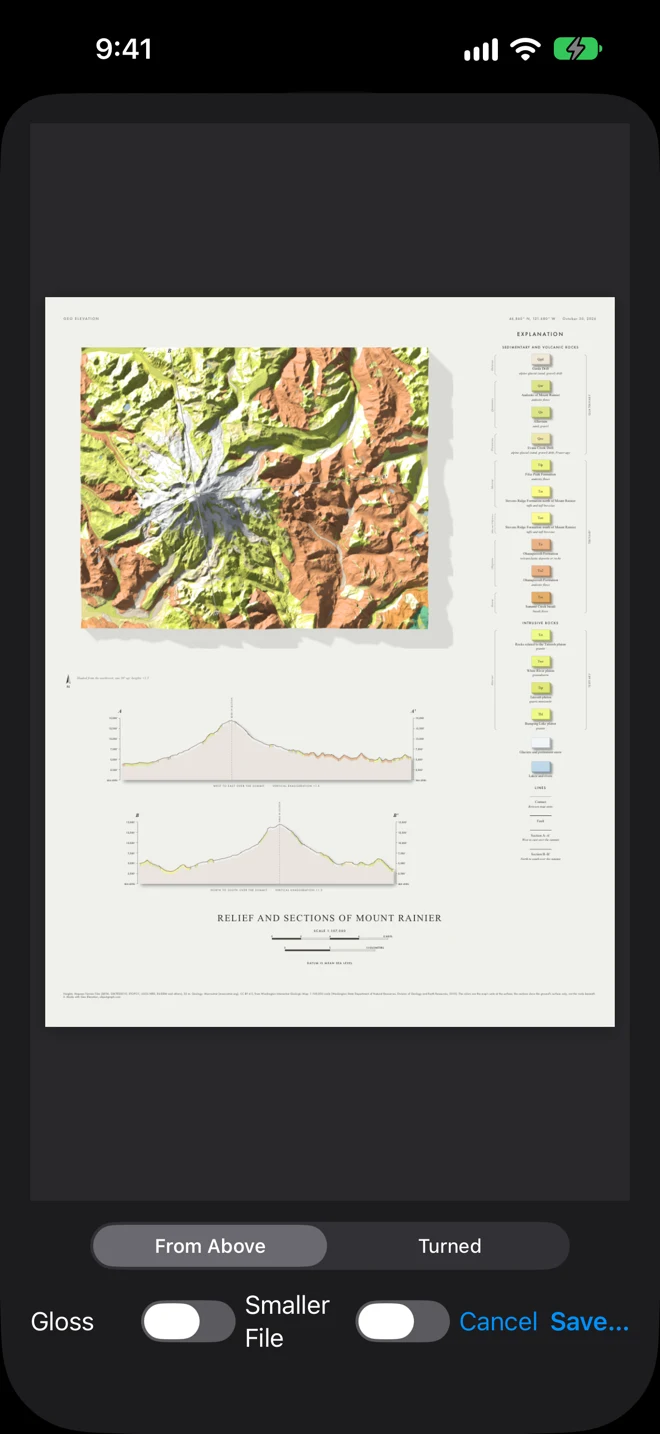
Section titled “From Above or Turned”- From Above looks straight down with north up, as printed plates are made.
- Turned starts as the 3D view is turned and tilted when the preview opens. Turn sets the way the eye looks (0° to 360°, in steps of 5°, with its compass point), Tilt how steeply it looks down (15° to 90°, straight down). Turned, the page’s scale is the sections’ alone (“Scale of the sections”), since a turned view has no single scale.
Gloss lets the sunlit slopes glint, as on a varnished relief model; it needs Relief on in the 3D view. Smaller File saves the pictures on the plate as JPEG: a fraction of the size, the same in print.
What is on the plate
Section titled “What is on the plate”- The relief, at 4,096 pixels on its longer side, with the slope bands, the contours or a circle’s view as the 3D view shows them, and the paths that cross it drawn on the ground as section lines, lettered at both ends (A–A′, B–B′). Under it, where the light comes from and the height’s stretch (“Shaded from the northwest, sun 30° up; heights ×1.5”).
- The explanation, beside it: on the Geology ground, the units grouped as sedimentary and volcanic, intrusive and metamorphic rocks, the youngest first, each with a map symbol, its color, its name, its rocks and its age, and glaciers, ground the map leaves blank, and lakes and rivers; on Tint, the elevation tint; with Slope on, the slope bands and their share of the ground; then the lines (contacts and faults on Geology, contours, each section with its path’s name).
- The sections: each path that is shown and lies at least half on the block, cut through the ground at the map’s scale, from sea level (or from its lowest point when that is far above the sea), with the ground’s color along its surface, its bends marked and its vertical stretch given.
- The title, “Relief and Sections of document”, with the scale, scale bars in miles and kilometers, the contour interval when contours are on, and “Datum is mean sea level”.
- The credits: where the heights come from (Mapzen or ASTER) and, on Geology, Macrostrat and the source maps.
The page is about 23 inches (59 cm) wide and as tall as its sections need: a sheet for a large-format printer, or a PDF to read on screen. Its text is in English, like the unit names of the geologic maps.
If it cannot be made
Section titled “If it cannot be made”“Couldn’t Export” explains why: the geologic map could not be loaded (try again when the connection is back), or the 3D view kept changing while the plate was made (let it settle and try again).