

The ground in 3D
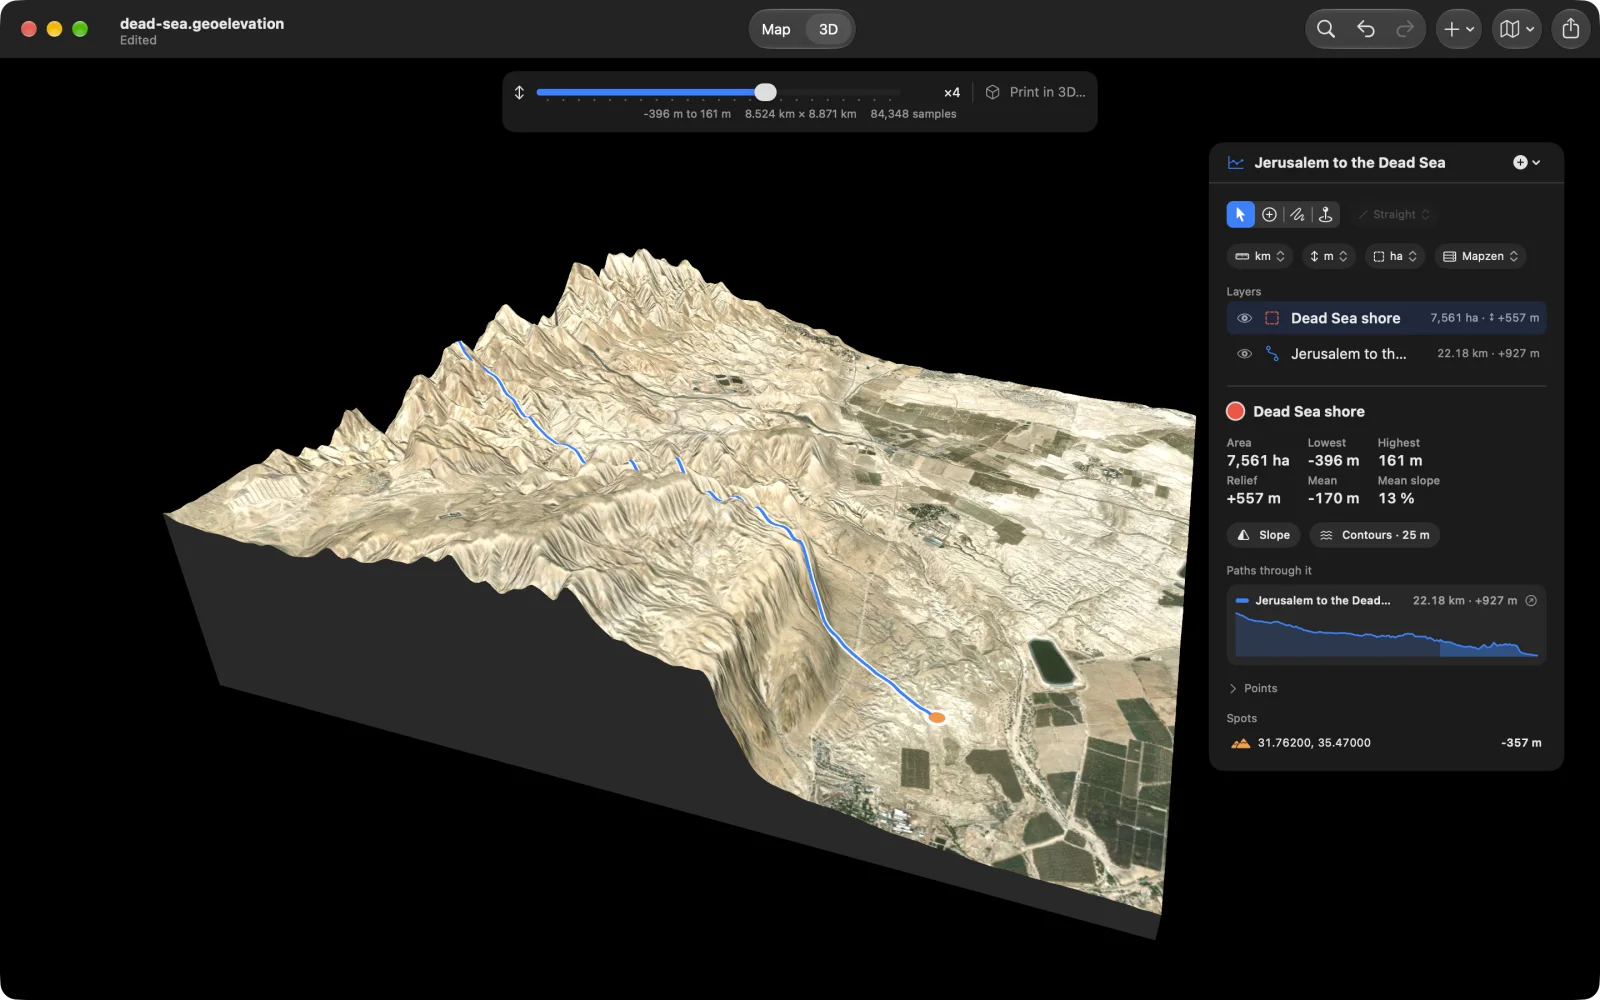
Select a path or an area and choose 3D at the top (View ▸ Show ▸ 3D Terrain, ⇧⌘2 on the Mac; ⇧⌘T switches back and forth). The ground stands up as a block, cut to the area’s outline, with the map imagery draped over it, the slope and contours if they are on, and every visible path drawn on the surface. For a path, the block is the ground around it.
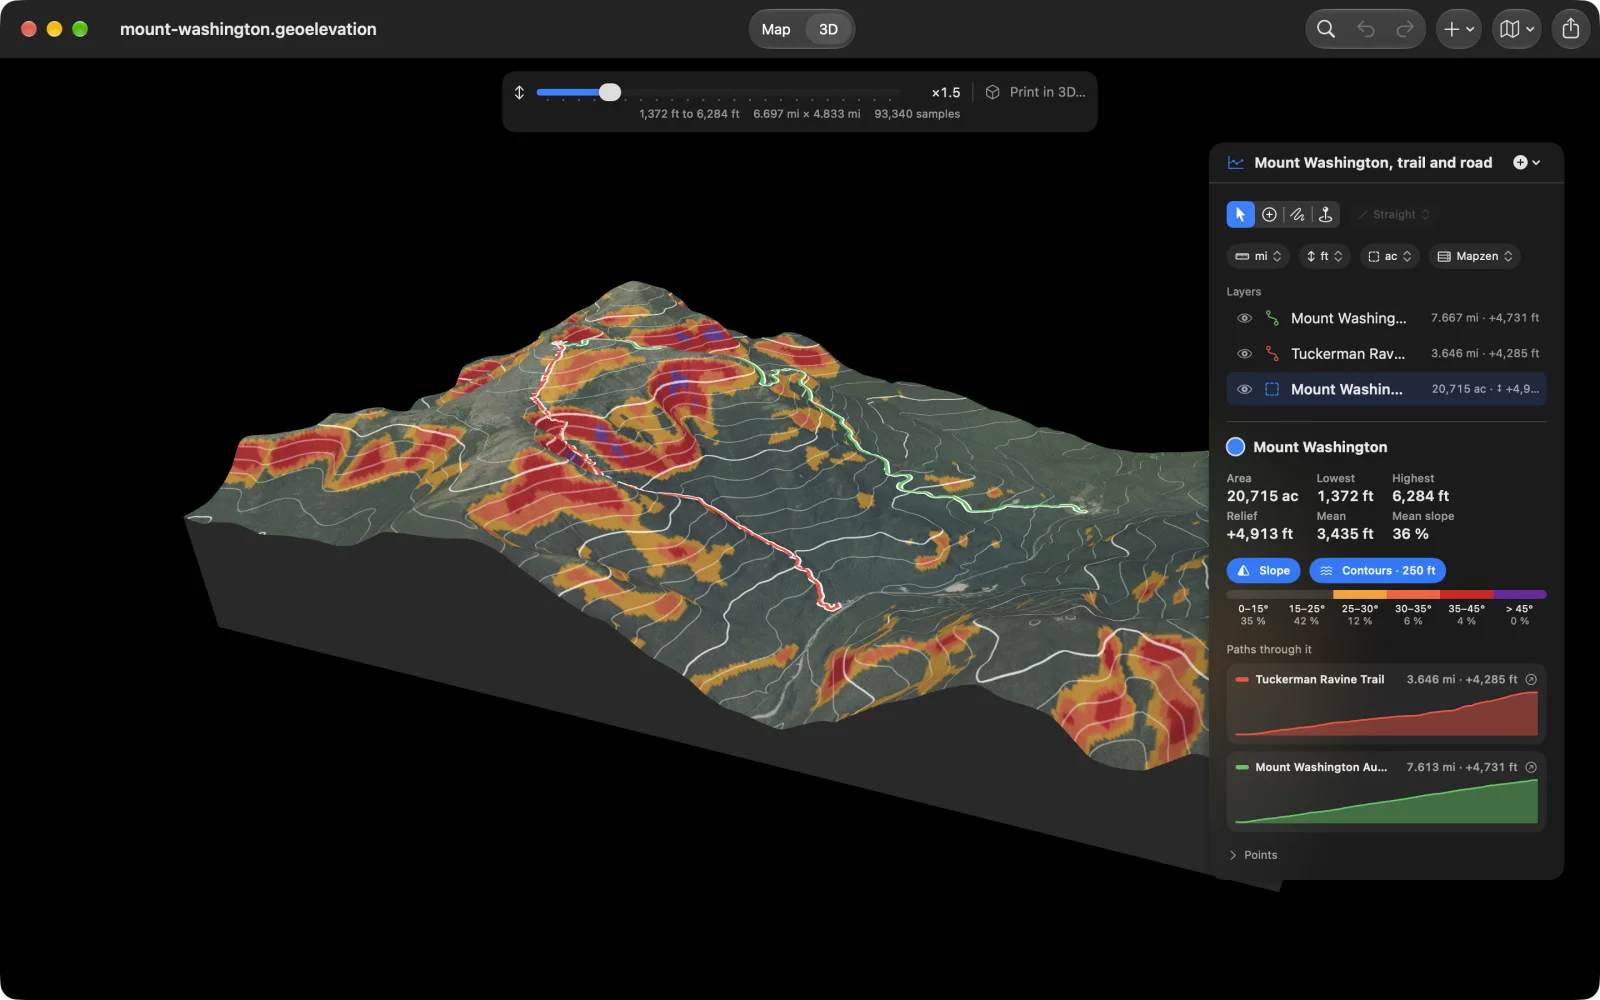
- Turn by dragging, zoom by pinching or scrolling.
- The height slider at the top stretches the heights from ×0.5 to ×6, to make a gentle hill readable. The value is remembered and also used when you print. Under it are the range of heights, the size of the block and the number of samples.
- Point at the surface (hover on the Mac, press on iPhone and iPad) to read the height of the nearest sample.
- Scrub a profile and a marker climbs the surface.
- Print in 3D… beside the slider saves the block as an STL file; see Print on paper and in 3D.
The 3D button is dimmed until there is a path or an area to show, and reads “3D…” while its ground is being fetched. The default stretch and the small sample dots on the surface are set in Settings ▸ Terrain ▸ 3D View.